Is your PC feeling sluggish? Upgrading your RAM and storage is one of the easiest and most cost-effective ways to breathe new life into your computer. Whether you’re a gamer, a content creator, or just someone who wants a faster, more responsive system, adding more RAM or swapping out an old hard drive for an SSD can make a world of difference. In this guide, we’ll walk you through the entire process—from choosing the right components to installing them safely.
Why Upgrade Your RAM and Storage?
Before diving into the how-to, it’s important to understand why upgrading RAM and storage can significantly improve your PC’s performance. RAM (Random Access Memory) is your computer’s short-term memory, allowing it to handle multiple tasks at once. More RAM means smoother multitasking, faster load times, and better performance in demanding applications like video editing or gaming.
Storage, on the other hand, affects how quickly your system boots up, loads programs, and accesses files. Traditional hard drives (HDDs) are slower than solid-state drives (SSDs), so upgrading to an SSD can drastically reduce boot times and improve overall responsiveness. Combining more RAM with faster storage ensures your PC runs at peak efficiency.
What You’ll Need Before You Start
Before you begin, gather the necessary tools and components to ensure a smooth upgrade process. Here’s what you’ll need:
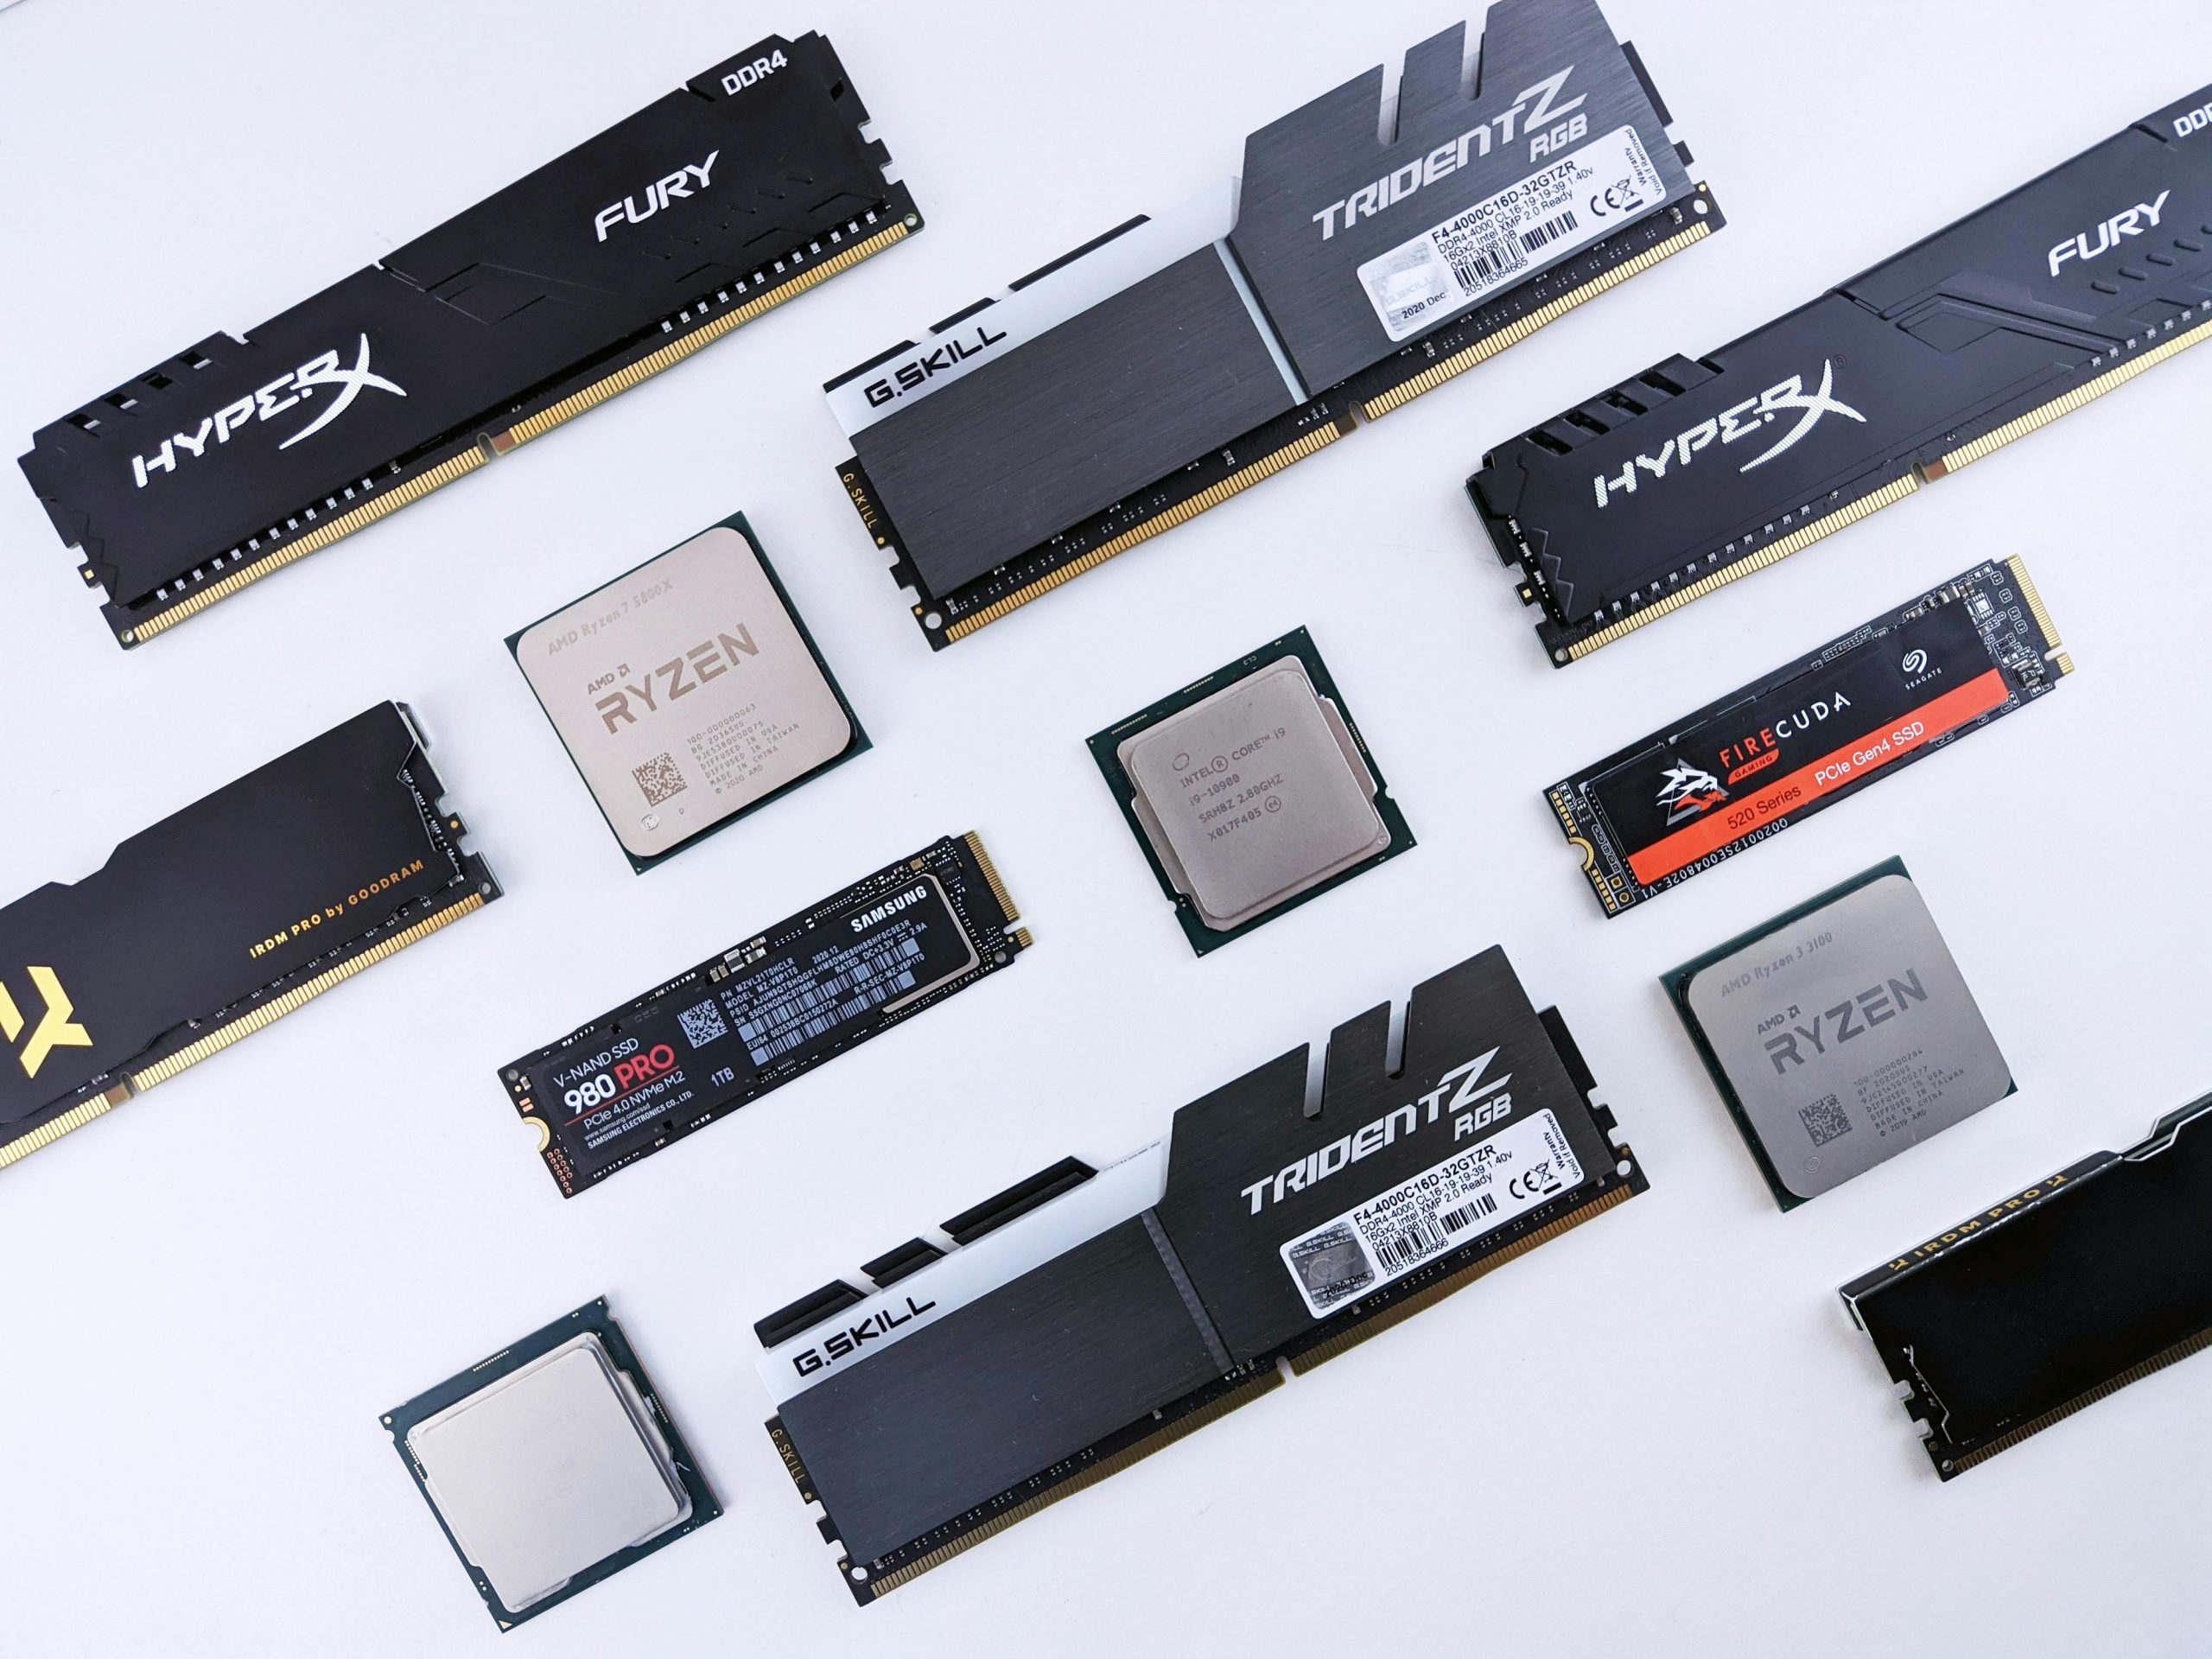
- Compatible RAM: Check your motherboard’s specifications to determine the type (DDR3, DDR4, etc.), speed, and maximum capacity it supports.
- Storage Drive: Decide between an SSD for speed or an HDD for larger storage capacity at a lower cost.
- Screwdriver: Most PC cases require a Phillips-head screwdriver for opening.
- Anti-static wrist strap (optional): Helps prevent static electricity from damaging sensitive components.
- Backup solution: If you’re replacing your primary drive, back up your data beforehand.
Once you have everything ready, power down your PC, unplug it, and ground yourself to avoid static discharge.
Step-by-Step Guide to Upgrading RAM
Upgrading RAM is a straightforward process, even for beginners. Follow these steps:
1. Locate the RAM Slots
Open your PC case and find the RAM slots on the motherboard. They’re usually long, thin slots near the CPU, often with clips on either end.
2. Remove Old RAM (If Necessary)
If you’re replacing existing RAM, gently push the clips outward to release the sticks, then lift them straight out.
3. Install the New RAM
Align the notch on the RAM stick with the slot, then press it firmly down until the clips snap into place. You should hear a click when it’s properly seated.
4. Power On and Verify
Close your case, plug your PC back in, and power it on. Check your system’s BIOS or use a tool like Task Manager (Windows) to confirm the new RAM is recognized.
Step-by-Step Guide to Upgrading Storage
Whether you’re adding a secondary drive or replacing your primary one, upgrading storage is a bit more involved but still manageable.
1. Choose Your Installation Method
If you’re adding a new drive without replacing the old one, simply connect it to an available SATA port and power cable. For a primary drive replacement, you’ll need to clone your old drive or reinstall your operating system.
2. Physically Install the Drive
For HDDs/SSDs, mount them in a drive bay using screws. M.2 SSDs slot directly into the motherboard—no cables required.
3. Connect Cables
For SATA drives, connect one end of the SATA cable to the motherboard and the other to the drive. Attach a power cable from your PSU.
4. Initialize and Format
Boot into your OS, open Disk Management (Windows), and initialize the new drive. Format it to your preferred file system (NTFS for Windows).
5. Transfer Data (If Needed)
Use cloning software if replacing your primary drive, or manually transfer files if adding secondary storage.
Tips for Maximizing Performance After Upgrading
Once your upgrades are installed, follow these tips to get the most out of your PC:
- Enable XMP (for RAM): If your RAM supports higher speeds, enable XMP in the BIOS to unlock its full potential.
- Optimize SSD settings: For SSDs, enable TRIM (Windows) and ensure AHCI mode is active in BIOS.
- Keep drivers updated: Regularly check for firmware updates for your SSD and motherboard.
- Monitor performance: Use tools like CrystalDiskMark or UserBenchmark to verify your upgrades are performing as expected.
Conclusion
Upgrading your PC’s RAM and storage is a simple yet powerful way to boost performance without buying a new system. By following this guide, you’ve learned how to choose the right components, install them safely, and optimize your setup for peak efficiency. Whether you’re a casual user or a power user, these upgrades will make your PC faster, more responsive, and ready to handle whatever tasks you throw at it. Now, enjoy your revitalized machine!